Published 25 August 2026 · Installation & Accessories · 1 min read
Projector Screen Installation Guide
What to plan for before installation day, regardless of which screen type you've chosen.

Confirm Mounting Structure First
Before installation, confirm what the screen will actually be fixed to — a stud wall, concrete, false ceiling, or a genuine structural ceiling — since this determines the fixings needed. Ceiling-recessed and motorized screens generally need a solid structural point rather than a false-ceiling panel alone.
Plan the Power Connection
Motorized and tab tension screens need a power connection at the housing location — plan this during electrical first-fix if the room is being built or renovated, rather than after the walls are finished.
Leave Clearance and Check Alignment
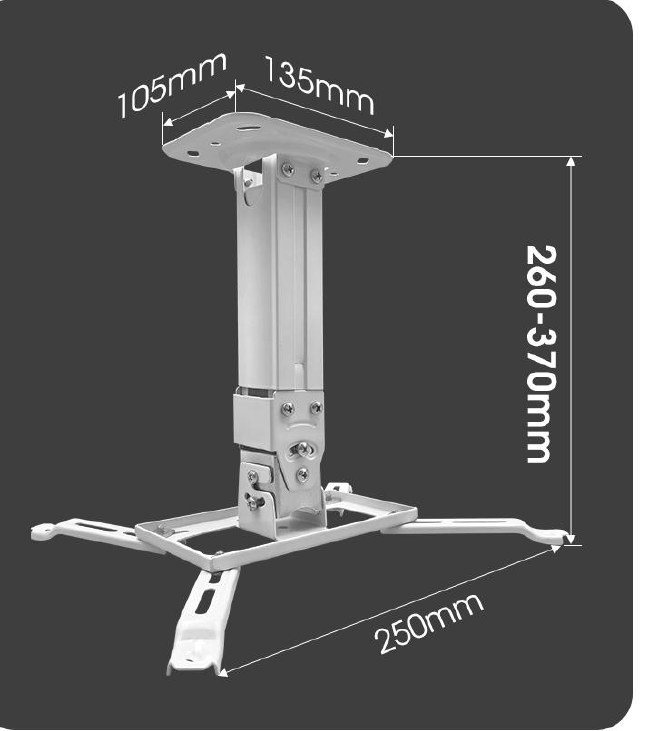
Leave clearance around the housing for the screen to extend fully, and confirm the projector's mounting point lines up with the screen centre — this is where a ceiling mount kit with adjustable positioning helps fine-tune alignment after the screen is up.
Confirm Throw Distance Before Fixing Anything
Use the screen calculator's throw distance field with your projector's throw ratio to confirm the projector's final mounting position before drilling for either the screen or the projector lift.